
What You’ll Need
- Welder
- Eye protection
- Welding Helmet
- Welding Jacket
- Welding gloves
- Welding Rods
- Non-conductive leather shoes
- Filter Mask
Copper is a valuable metal due to its ability to conduct electricity as well as heat. Because of these properties, when you weld copper the heat from the welder spreads out. It therefore doesn’t necessarily concentrate on the area that you would expect it to. There are 3 types of welding processes to use when welding copper:
- Manual Metal Arc (MMA) – Is the most common type of weld used for copper du to its flexibility.
- Gas Metal Arc weld (GMAW)
- Gas Tungsten Arc weld (GTAW)
The type copper that you require will depend on what you are planning to use it for. Furthermore, depending on the above it is sometimes better to use a method other than welding such as soldering or brazing.
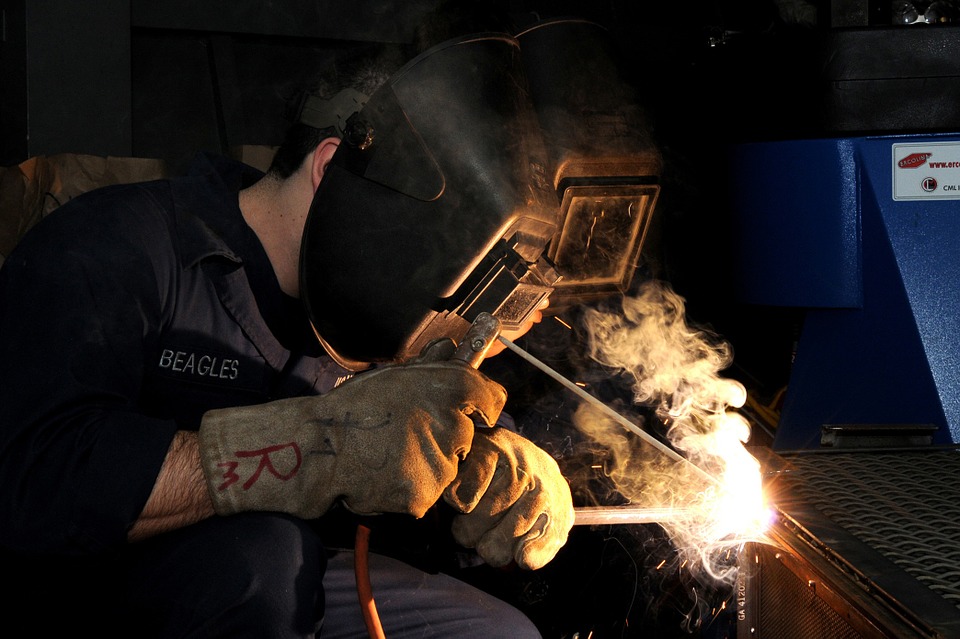
Step 1: Safety
Remember to wear your safety equipment. This is really important when welding copper. Because of its high thermal conductivity, when using a metal arc bare skin should be avoided at all costs. No matter what type of welding process you decide to do, precautions should be taken at all times. We also recommend that you work in a clean area with no flammable products nearby.
Step 2: Filler Metal
When you are welding a metal like copper you need the weld metal to be stronger than the base metal. For example, if the copper alloy contains at least 70% copper, use 70:30 Copper:Nickel filler. The filler has more Nickel than the base metal, resulting in it becoming stronger. Also make sure that you know what type of copper alloy you are using prior to welding. Copper-tin-zinc alloys shouldn’t be welded to copper-nickel alloys.
Step 3: Remove Problematic Substances
Certain substances can cause cracks if they come into contact with the weld. This is due to them containing either lead, phosphorus or sulphur. These substances can include:
- Grease
- Oil
- Paint
Ensure that the copper is clean of all these problematic substances before you start to weld.
Step 4: The Procedure
Copper welding isn’t the same as steel welding. The heat required for welding copper is approximately twice that required for steel of similar thickness. Therefore, remember to prepare the metal correctly according to its thickness. Joint preparation is important because it’s crucial to achieving a good weld. When welding copper we recommend 2 different types of joint preparation:
- Square-butt preparation – For when the metal is 3 mm or less.
- Beveled preparation – For thicker metal.
During the procedure, the torch should be held angled at over 70 Degrees to the base metal. This allows for a more precision with the welder.
Step 5: The Right Position
Welding can be completed in a variety of positions. For copper welding, we recommend 2 positions:
- Down hand Welding- performed from the upper side of the joint with the face of the weld approximately horizontal
- Welding on a Horizontal Seam
Both of these positions allow for an easier weld and take less skill to gain a professional finish.
At WIRS Welding Supplies we provide ‘Everything For The Welder’. Supplying a range of products to use when working with copper, from protective clothing to torches and welding wire.
To view our product range, visit our website wirs.co.uk