
5 Easy Ways to Remove Spot Welds
With any spot weld cutting project it is inevitable that you will come across some spot welds that need to be removed. This a difficult process when you have to ensure that you can save as much of the original metal as possible.
That is why we have put together five different Spot Weld Cutters that can help you to remove spot welds.
1.) Spot Weld Cutter
This cutter utilizes a small centering pin which makes contact with the sheet metal panel first and stops the cutter from wandering. The cutter is spring loaded, so once you apply pressure into the panel it will depress and the pin will begin to cut through. The cutting wheel is similar to a hole saw for wood, except on a spot weld cutter it’s slightly smaller. These can be swapped out with different size cutting heads depending on the project.
An advantage of this cutter is that once the cutting head bores through the first panel, the panels can then be separated and means that you are not left with a hole cut all the way through both panels.
These types of Spot Weld Cutters tend to cost more than other methods mentioned but is the most professional and accurate method for drilling spot welds.
2.) Spot Weld Drill
This method is slightly cheaper and performs the same basic function as the Spot Weld Cutter. The Spot Weld Drill is essentially a very wide but flat drill bit with a self centering tip so it doesn’t wander. The advantage of this drill is that it is made out of one piece of metal, meaning that there are no pieces that can break.
However, a disadvantage of this is that because each cutter is for a specific size spot weld, unlike a Spot Weld Cutter the cutting cannot be changed out to accommodate various spot weld sizes.
These drill bits are slightly more expensive that standard drill bits, but they are far more accurate and last much longer.
3.) Standard Drill and Drill Bits
This method is by far the most simply and easiest way to remove spot welds. No speciality tools are required, only a standard drill and a set of drill bits. This works very well but does take a lot more time than if you were to use speciality equipment.
One issue is that by using this method your drill bits can be worn down quickly. Also, it is almost impossible to save both panels since you have to drill completely through both panels. As mentioned before, this method does wear down even the best drill bits which inevitably means you cannot remove a lot of spot welds.
One way to reduce the wear on your drill bits is to drill a small pilot hole first, and then use a larger bit to remove the spot weld.
4.) Cut Off Wheel, Hammer, Punch or Air Hammer
If you don’t have a drill or drill bits, you can use this method. This is considered a last resort method or when you don’t care about the top panel.
You will need a Cut Off Wheel and a Hammer and punch or Air Hammer with chisel attachment.
Firstly, cut a star shaped pattern directly over the top of the weld (ou only need to cut through the top panel). Then using the punch hit the centre of the cut lightly to break the rest of the metal free. If you are able to get to the underside of the panel, this step may become easier with the use of a screwdriver to pry the two pieces apart.
5.) Angle Grinder
This method can also be considered as a last resort but completes the same task in a lot less time.
Use an Angle Grinder to remove the metal directly above the spot weld without burning through the panel. When you have removed the majority of the first layer of metal, use a punch or chisel and hammer to break the rest of the metal free.
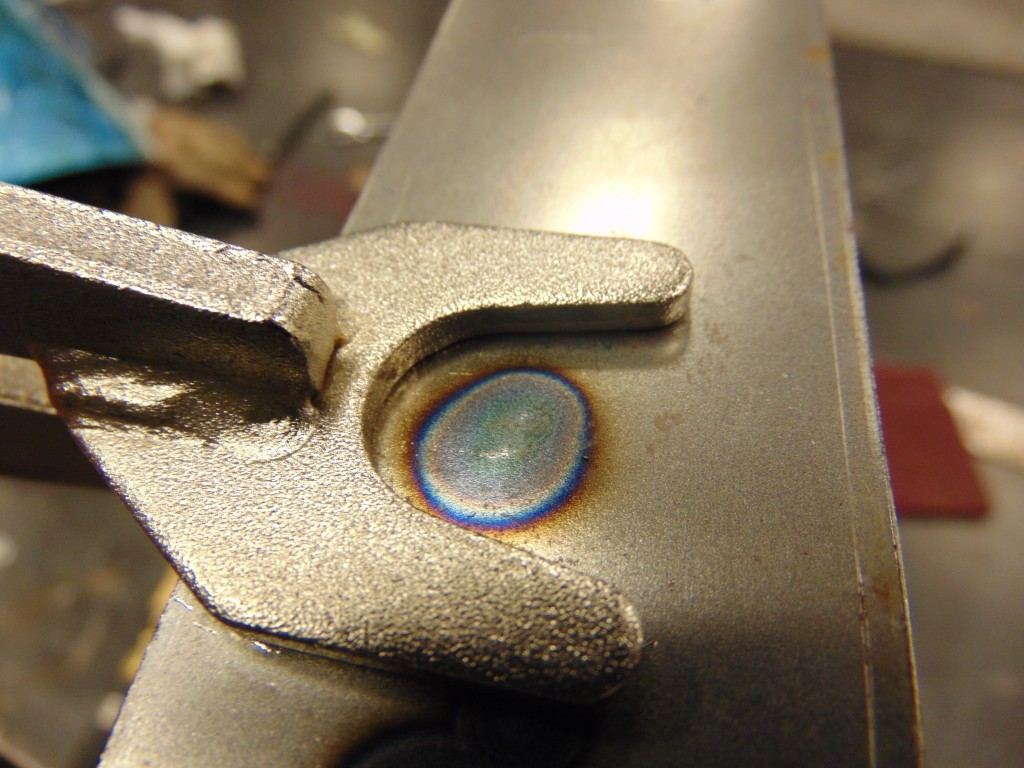
If you are unsure of how much metal you have removed, simply hit the centre of the spot weld and the outline of the spot weld will appear.
If you are interested in welding please visit the WIRS website here.